「小米锅巴Millet crisp」在晚上,你能想到的消遣方式是什么?公园散散步、做一下运动、窝在家里看看电视,三五好友出来聊聊天,又或者是为了工作事业而加班奋斗。无论是怎样,都是生活的一种乐趣。在休闲的时候,无论是家里看看电影,约好友出来聊天,都总是需要一些小零食增添一下乐趣。在现在可选择的有很多,但是有一样东西,可以说是大家都吃过的,那就是锅巴。小时候,直接在饭锅里面铲出来的那种锅巴,又或者是直接在小卖部买到的袋装锅巴,基本都是存在于大家的记忆当中。但是,现在的电饭煲都基本上是不粘锅的,而外面买的零食又怕不卫生,添加剂多,所以今天给帮友们分享这个小米锅巴,自己做既卫生,又能根据自己的口味来调味,晚上一碟锅巴再喝点啤酒,也是一大乐事呢~(我是魔鬼,昨天教你们跑步减肥,今天教你们喝啤酒吃锅巴

)
By 帮主阿涛材料份量:3人份小米 50g中筋面粉 60g盐 4g过程
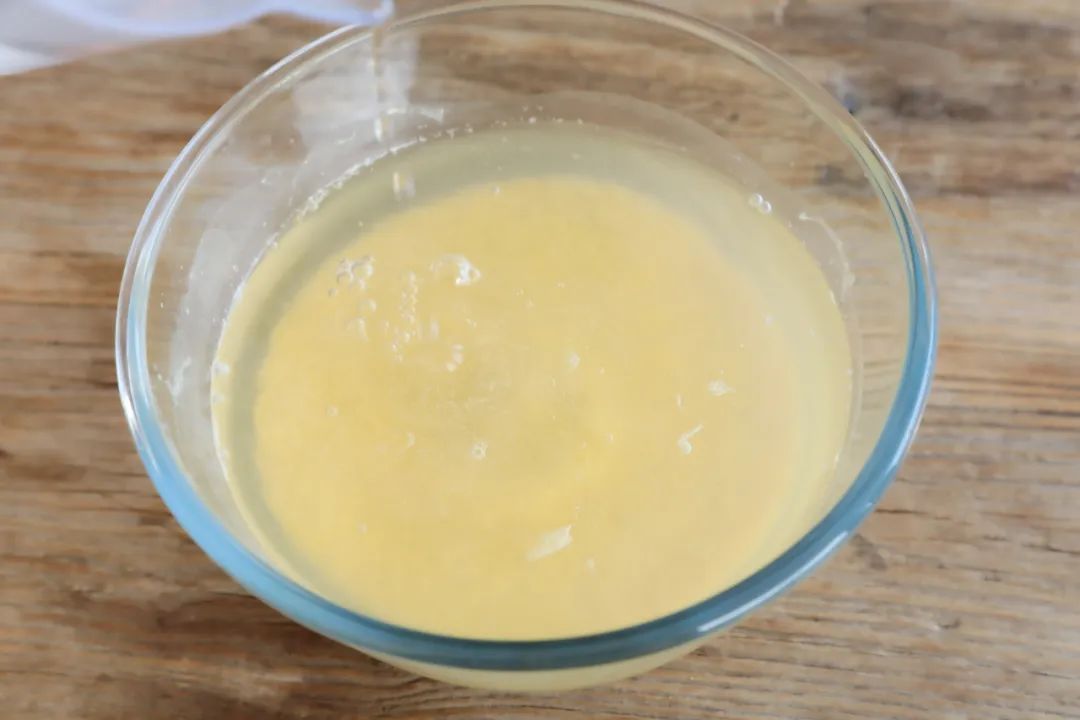
1、清水倒入50g小米中,清水要完全没过小米至少一倍。
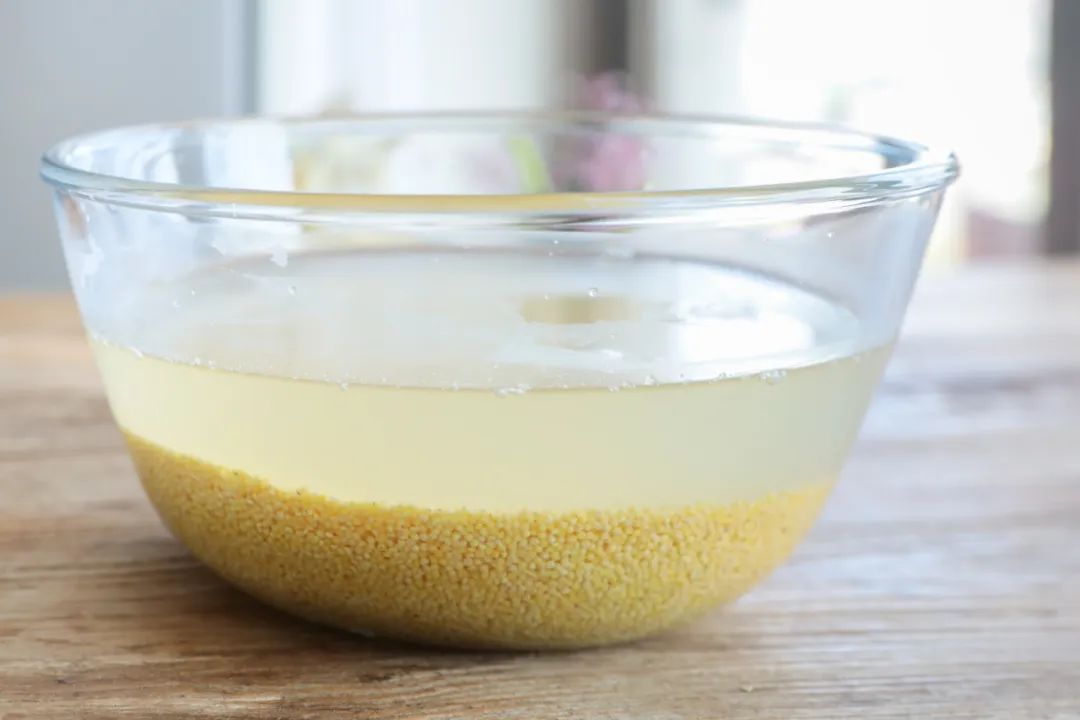
2、夏天浸泡2小时,冬天浸泡4小时。
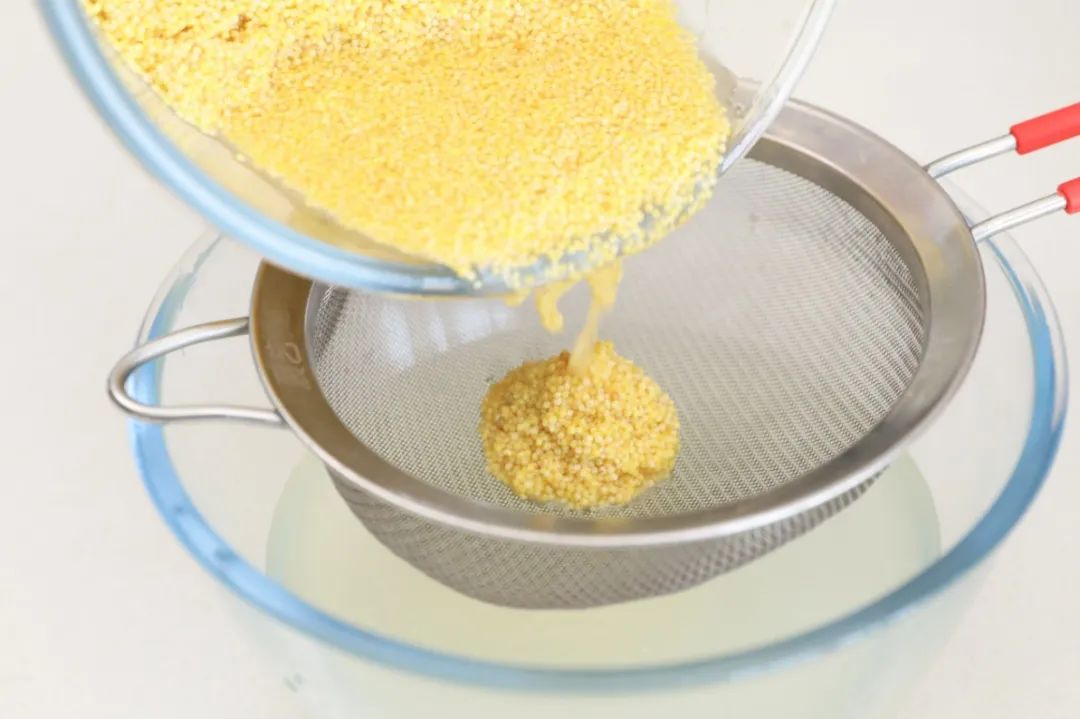
3、倒出大部分清水,注意不要全部倒完。

4、加入60g中筋面粉和4g盐,搅拌成絮状。由于每个人在上一步预留的水量会有差异,所以面粉是可以酌情增减的。在揉面团时,既要能够成团,又不会太干就好了。
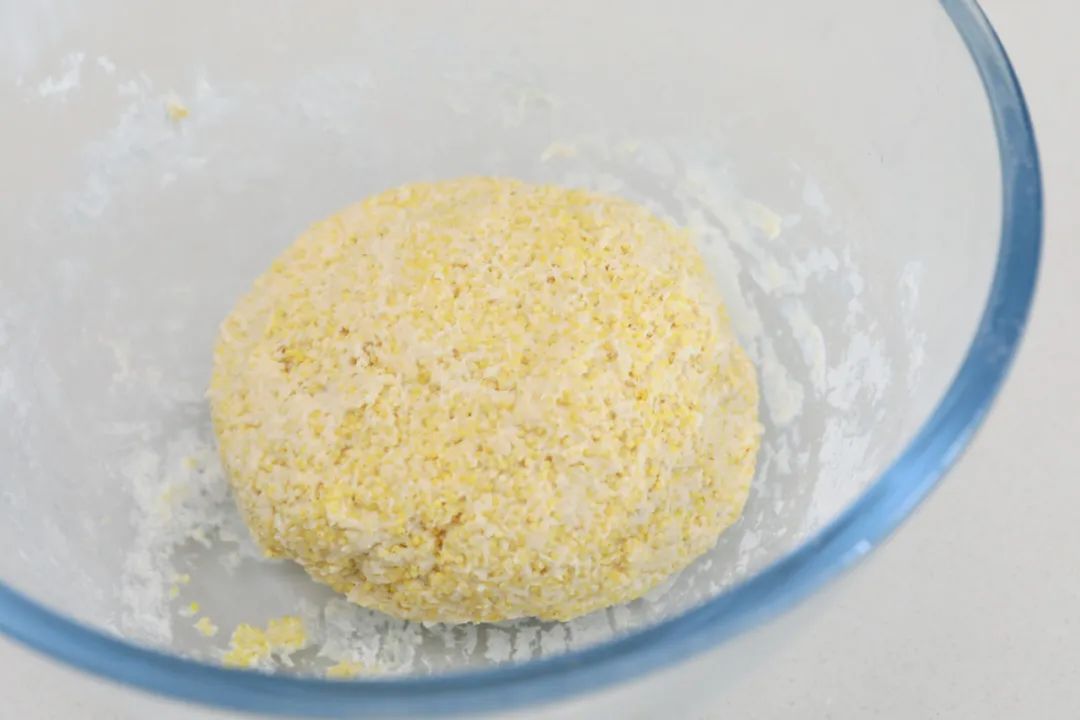
5、用手揉成光滑的面团。
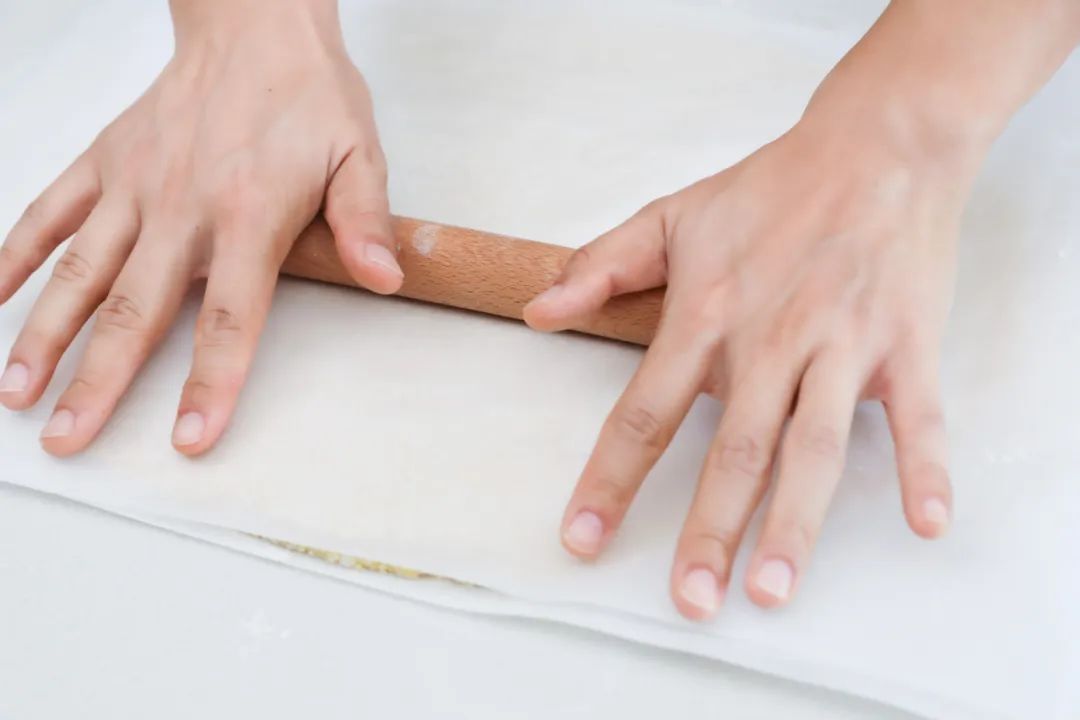
6、将面团夹在两张提前撒了面粉的油纸中间,擀成尽可能薄的面皮。
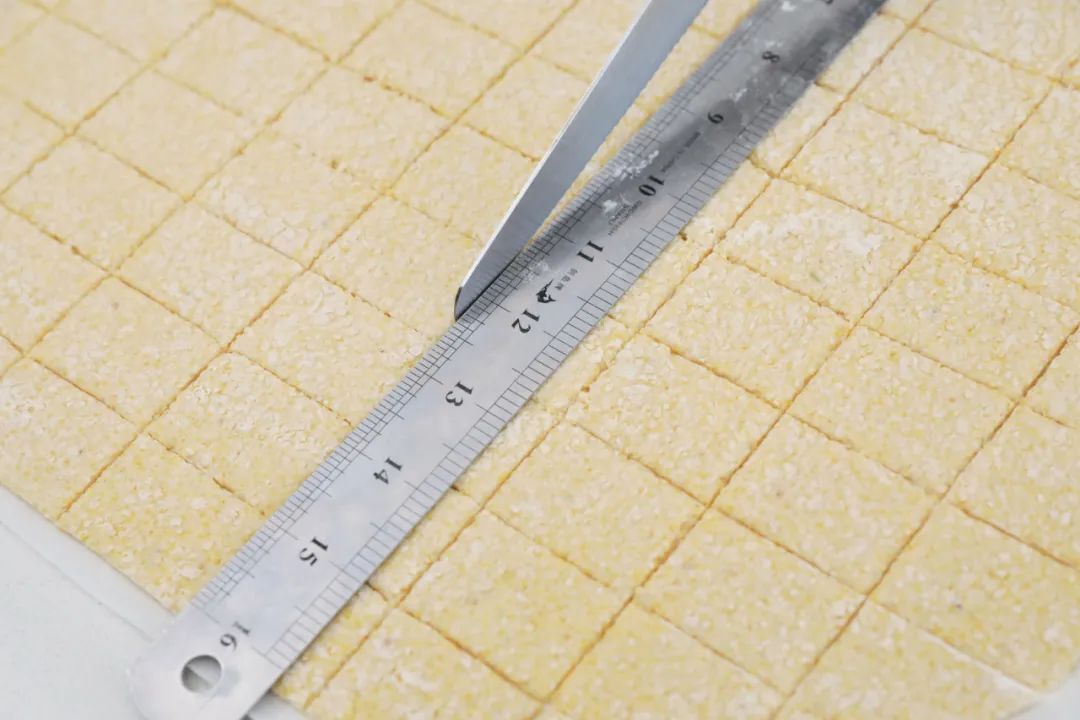
7、借助尺子,用刀切成方形或者长方形。
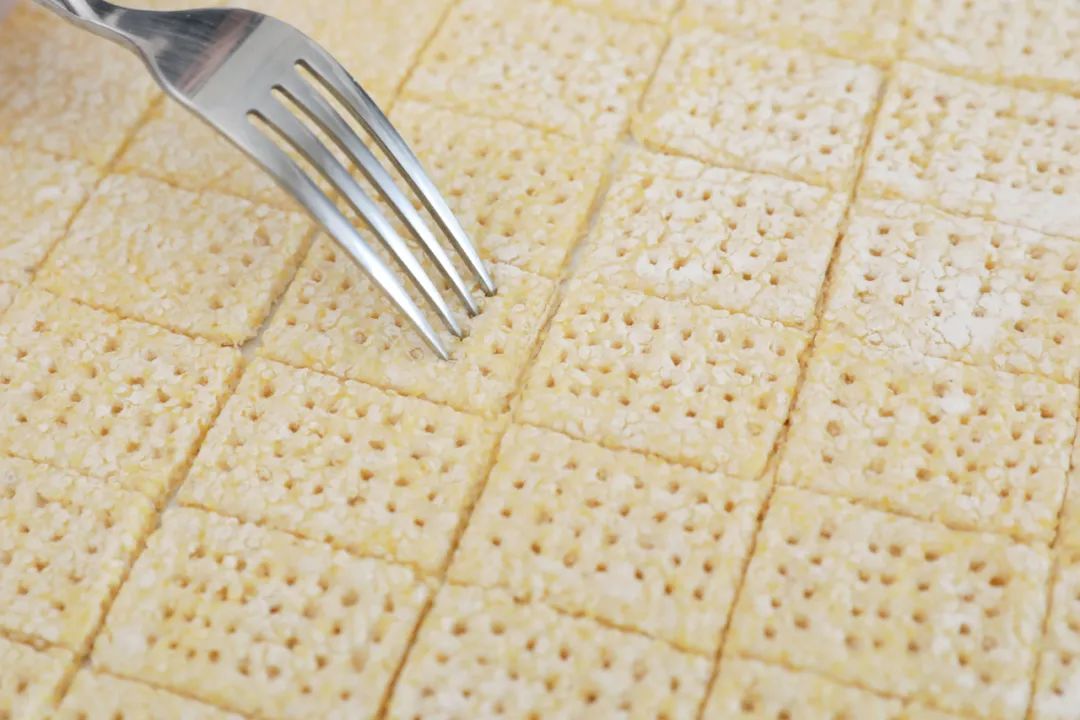
8、用叉子插出均匀小孔,面胚就完成了。
![]()
cription-url="https://mmbiz.qpic.cn/mmbiz_gif/WicJJP5S6jxloVym98dLYMh0JXib2bkpPxQdKaEb7NWsub9uiaibJbh7zWwUhH3yH0ZRcTbVPWGQ084gxI0Ru9RPjA/0?wx_fmt.gif" data-copyright="0" data-ratio="0.5637254901960784" src="http://www.yinpinjie.com/file/upload/202302/24/154223171.gif" data-type="gif" data-w="408" />9、中小火加热,将油烧至7分热,分批下面胚炸,炸至金黄色后出锅。
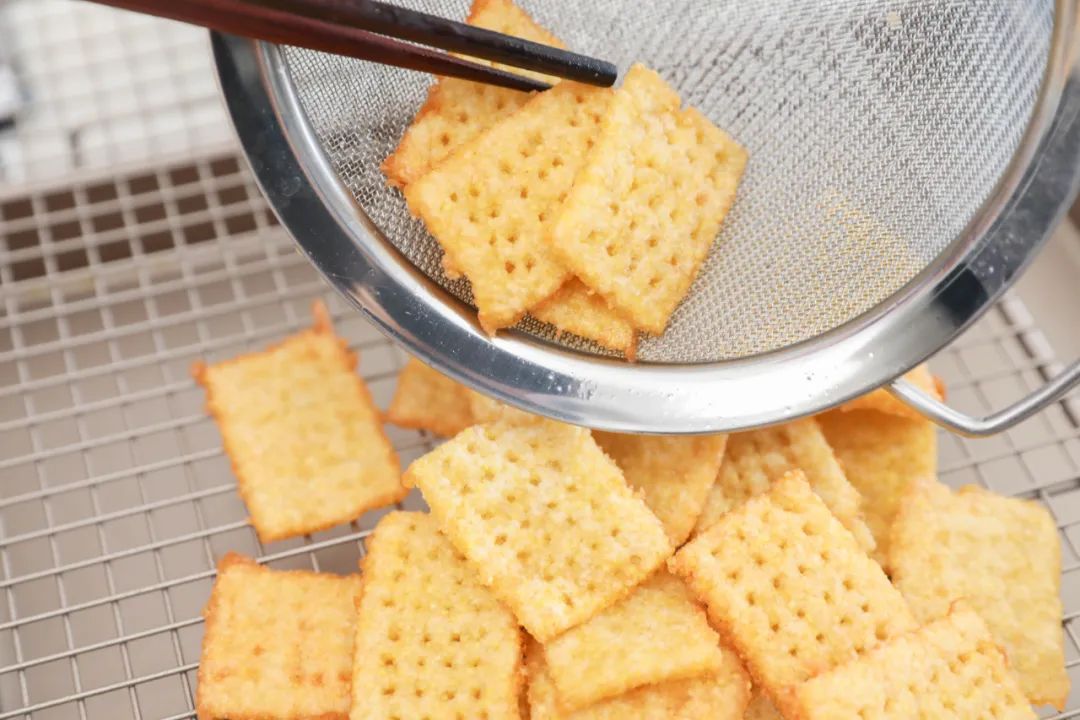
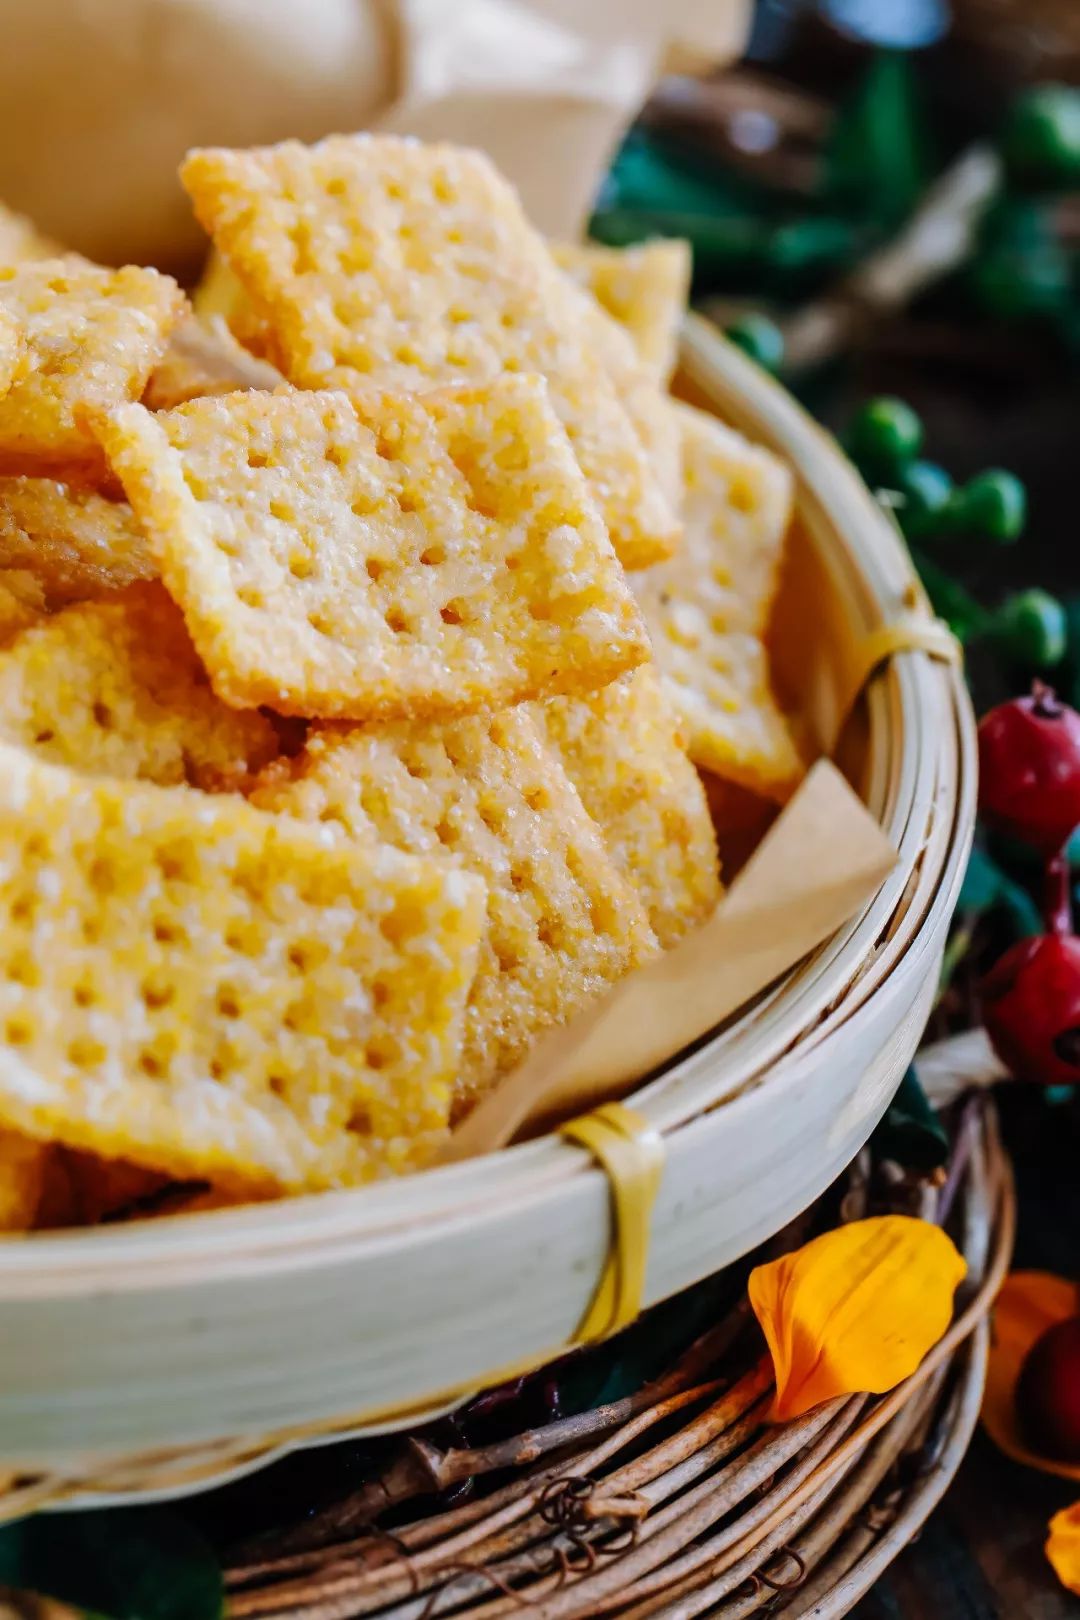
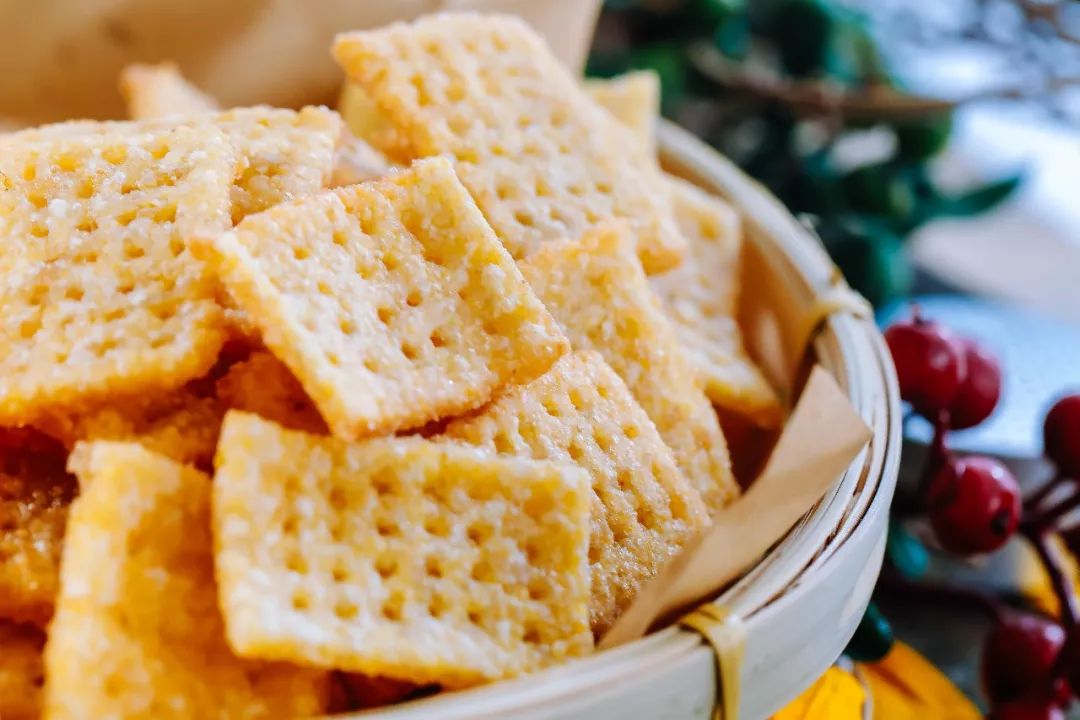
10、捞出沥干,金黄酥脆的锅巴就完成啦,超级好吃!
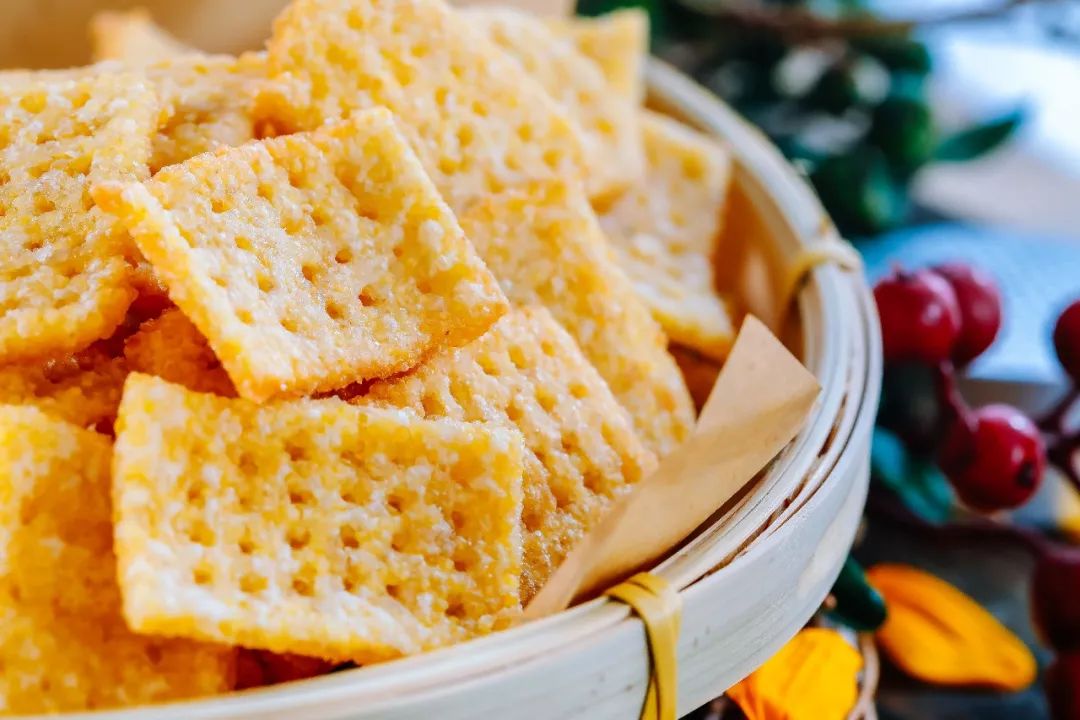
11、撒上自己喜欢的调料,就可以开吃啦~(摄影:吴同学)Tips1、根据面团的干湿程度,适量地增加或减少中筋面粉的用量。2、将面团擀得尽可能的薄一些,这样吃起来口感更香脆。3、吃不完的小米锅巴密封常温保存,避免受潮影响口感!


把我设为星标这样就能天天见啦~点击阅读原文查看更多原创食谱让烘焙更简单▼ ▼ ▼本文是烘焙帮第1555原创食谱「享、赞、看三连」▽▽▽ 预览时标签不可点
 手机浏览中华饮品届